
TP Link Deco XE75 ProSetup Guide & Configuration Help
To set up the Deco XE75 Pro, connect the main unit to your modem using an Ethernet cable and power it on. Install the TP-Link Deco app, sign in, tap Set Up a New Deco, follow the on-screen instructions, and add additional Deco units to complete your mesh Wi-Fi network.
The TP-Link Deco XE75 Pro is a tri-band Wi-Fi 6E mesh system built to eliminate dead zones and deliver fast, stable coverage across every room. If you’ve just unboxed your units, this guide walks you through the complete TP Link Deco XE75 Pro setup process, from initial login to wireless backhaul, firmware updates, and troubleshooting common issues.
Whether you’re setting up for the first time or fixing a connection problem, this guide answers the most common questions about Deco XE75 setup in one place.
What is the Default Login for Deco XE75 Pro?
If you ever need to access the web management page directly, you can do so by typing tplinkdeco.net or 192.168.68.1 into your browser’s address bar while connected to the Deco network. You’ll then sign in using the owner account password, the same TP-Link ID credentials you used during Deco setup. If you haven’t created an account yet, the app will prompt you to do so using your email address.
How to Setup Deco XE75 Pro?
Getting your tp link deco xe75 pro setup online is straightforward if you follow these steps in order.
Step 1: Download the Deco app
Search for “TP-Link Deco” on the Google Play Store or Apple App Store and install it on your smartphone or tablet. This app is required for setup and ongoing management.
Step 2: Create or log in to your TP-Link ID
Open the app and either sign in with an existing TP-Link ID or create a new one. This account will be linked to your entire Deco network.
Step 3: Select your Deco model
Search for and choose “Deco XE75 Pro” from the model list so the app loads the correct setup flow.
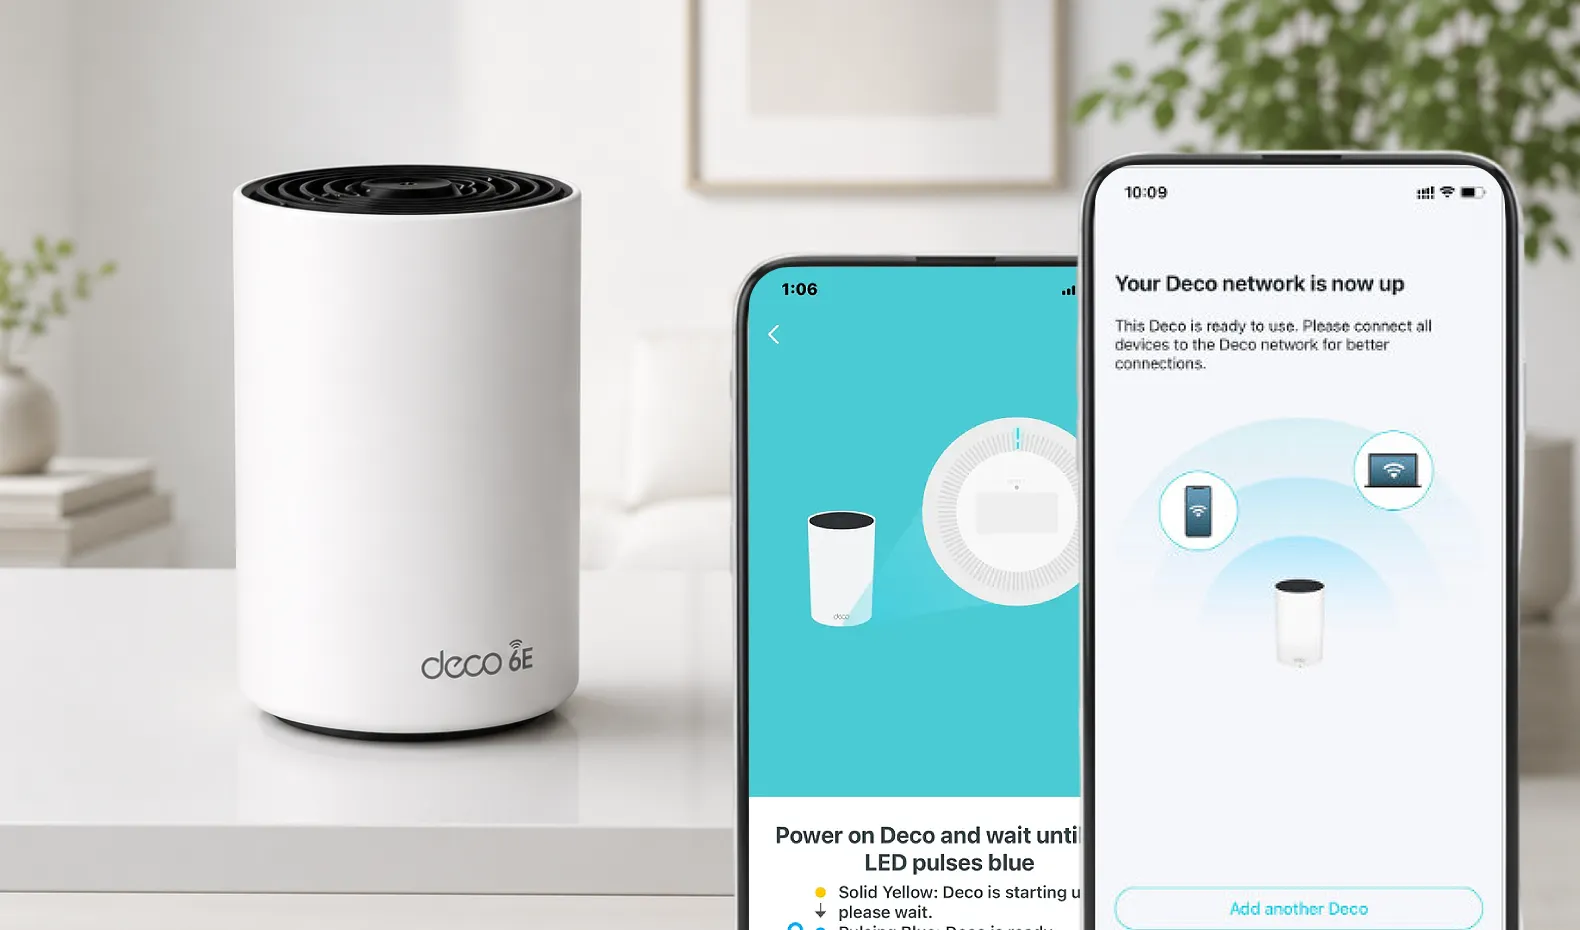
Step 4: Connect your main Deco unit
Power off your modem, connect the first Deco unit to it using an Ethernet cable, then power both back on. If you don’t use a modem, you can connect the Deco directly to your wall Ethernet outlet.
Step 5: Join the Deco’s Wi-Fi
Connect your phone to the default SSID printed on the bottom of the unit, then return to the app to continue.
Step 6: Choose a location and connect to the internet
Name the unit based on where it sits in your home, then select your internet connection type (DHCP, PPPoE, static IP, etc.) and enter your ISP details if required.
Step 7: Set your network name and password
Create a new SSID and password for your home Wi-Fi network. This is what all your devices will connect to going forward.
Step 8: Add satellite units
Once your main TP Link Deco XE75 Pro setup is online, place additional units around your home and use the “+” button in the app to add each one. The app will guide you through pairing and placement for optimal coverage.
After this, your Deco network is live, and you can monitor devices, run speed tests, and adjust settings from the app dashboard.
Deco XE75 Wireless Backhaul Setup
One of the biggest advantages of the XE75 Pro is its dedicated wireless backhaul. Because it’s tri-band, one of the 5 GHz or 6 GHz bands can be reserved purely for communication between Deco units, rather than competing with your client devices for bandwidth.
To get the best wireless backhaul performance:
- Place satellite units of the Deco XE75 setup within range of the main Deco, ideally where they still show "Good" or "Excellent" signal strength in the app's network map.
- Avoid placing units too close to thick walls, metal appliances, or large mirrors, which weaken the 6 GHz signal more than older bands.
- Keep each satellite within one to two rooms of another TP Link Deco XE75 Pro setup unit rather than spacing them too far apart.
- If you want maximum backhaul speed and don't mind running cables, connect satellite units via Ethernet instead; this frees up all three wireless bands for client devices.
For most homes, Deco XE75 wireless backhaul setup is more than sufficient and avoids the hassle of running cables between rooms.
How to Factory Reset Deco XE75 Pro
If your unit is misbehaving, was previously used on another network, or you’ve forgotten your credentials, a factory reset Deco will wipe it back to out-of-box settings.
- Locate the small reset button on the back or bottom of the Deco unit.
- Using a pin or paperclip, press and hold the button for about 10 seconds.
- Release once the LED starts blinking, indicating the reset is in progress.
- Wait for the unit to fully restart, this can take a few minutes.
- Set the unit up again from scratch using the Deco app.
Keep in mind that resetting one satellite unit only resets that unit. If you want to wipe your entire mesh network, you’ll need to reset each TP Link Deco XE75 Pro setup unit individually or remove and re-add them through the app.
How to Update Deco XE75 Pro Firmware?
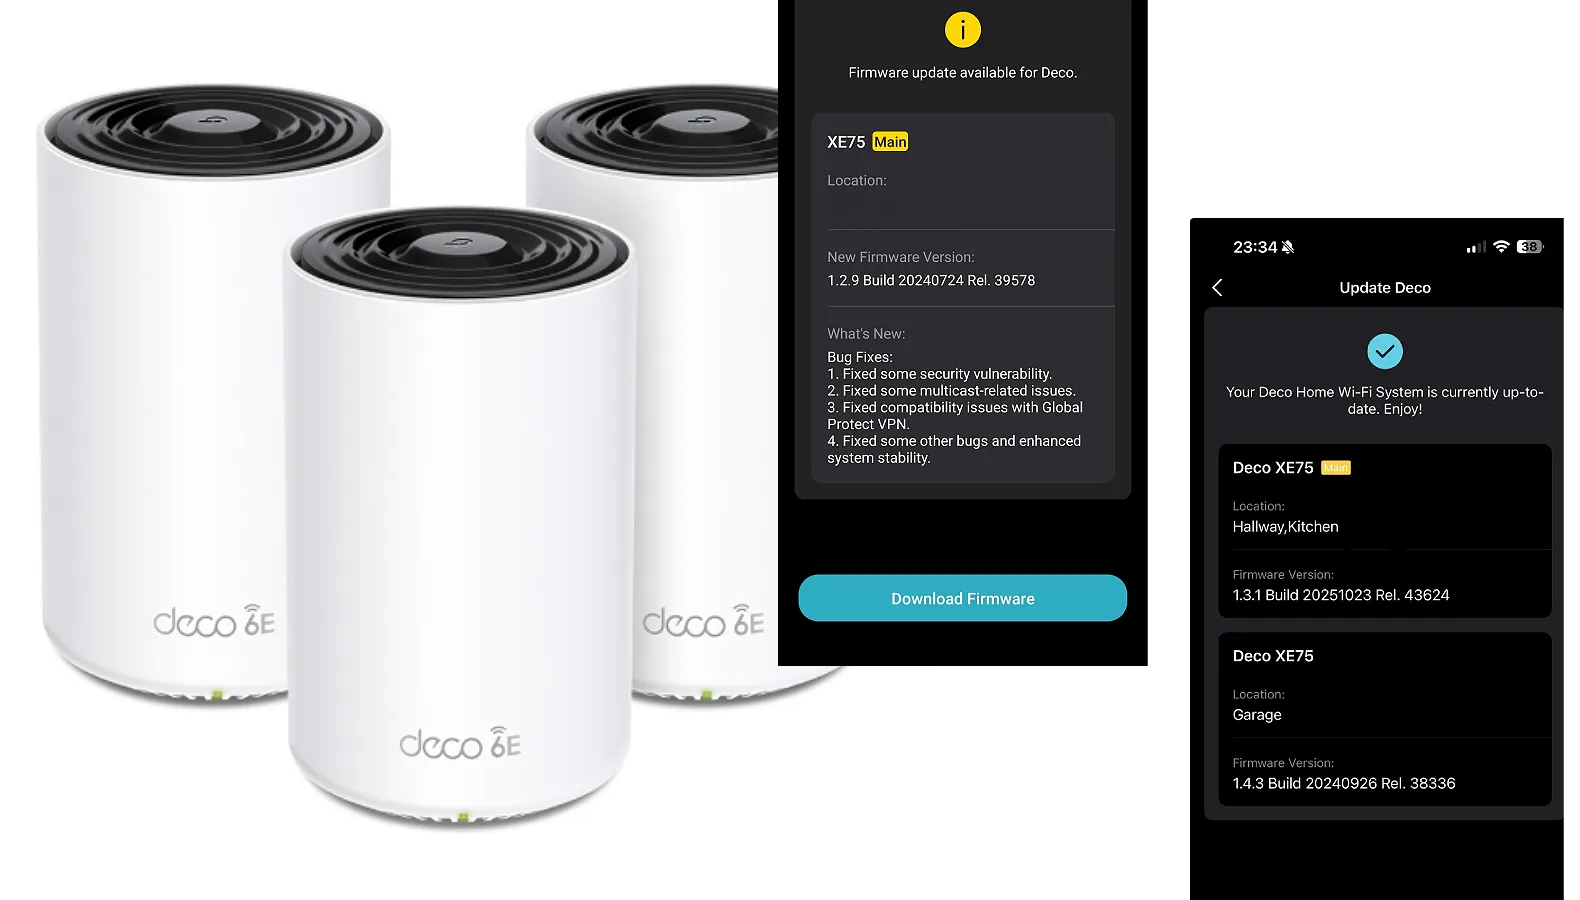
Keeping the firmware of your deco xe75 setup updated improves stability, security, and speed and can resolve many random disconnect issues.
- Open the Deco app and make sure you’re connected to your Deco network.
- Go to More in the bottom menu.
- Tap Deco Firmware (sometimes listed under Settings).
- If an update is available, tap Update Now.
- Keep the app open and avoid powering off any unit until the update finishes.
- Repeat the check for each satellite unit, since updates roll out per device.
You can also enable automatic firmware updates in the app so your system stays current without manual checks. If a Deco XE75 firmware update fails repeatedly, try restarting the main unit and your modem before attempting again.
What Do the LED Colors on Deco XE75 Pro Mean?
The LED ring on top of each TP Link Deco XE75 Pro setup unit gives you an at-a-glance status check:
- Solid blue (slow pulse): The unit is ready for initial setup.
- Solid green: Everything is working normally, and the unit has a good connection.
- Flashing green: Active data transfer or a firmware update in progress.
- Solid amber/orange: The unit is on but having trouble connecting to the internet, often a loose cable, ISP outage, or weak backhaul signal.
- Flashing amber/orange: A factory reset is in progress.
- Solid red or flashing red: No internet connection, or in some cases, a firmware update is underway. If it stays red after a few minutes, check your modem and cabling.