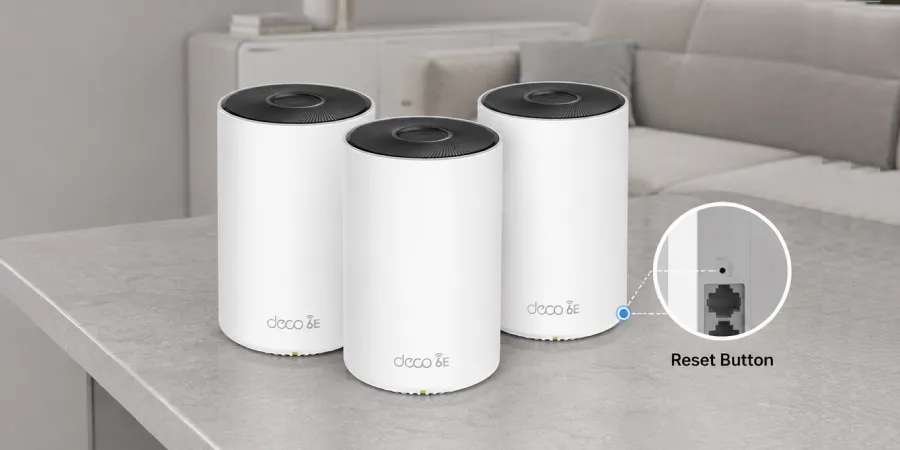
Deco XE5300 SetupInstallation & Configuration Guide
Setting up your TP-Link Deco XE5300 mesh system takes about 10-15 minutes using the Deco app on your smartphone. In short: unbox the units, connect the primary Deco to your modem, download the Deco app, create a TP-Link ID, and follow the in-app instructions to configure your network name and password. Once the primary unit is online, you can add satellite units anywhere in your home to extend coverage. This guide walks through every step, plus fixes for common issues like a red light or firmware errors.
The TP-Link Deco XE5300 is a Wi-Fi 6E mesh system designed to eliminate dead zones and deliver fast, stable internet across large homes. Whether you just unboxed your Deco XE5300 or you’re troubleshooting an existing setup, this guide covers the full Deco XE5300 setup process from start to finish, including installation, mesh configuration, firmware updates, and fixes for the most common errors.
What You Need Before You Start?
- Your Deco XE5300 unit(s) and power adapters
- An active internet connection (cable, fiber, or DSL modem)
- An Ethernet cable (included in the box)
- A smartphone or tablet with the Deco app installed
- Your Wi-Fi provider's account details, if required by your ISP
Step-by-Step Deco XE5300 Setup Guide
Step 1: Download the Deco App
Search for the “TP-Link Deco” app on the Apple App Store or Google Play Store and install it. This app is required to complete setup, as the Deco XE5300 does not support full configuration through a web browser.
Step 2: Connect the Primary Deco Unit
Place your main Deco unit near your modem. Connect one end of the Ethernet cable to your modem and the other end to the yellow WAN port on the back of the Deco. Plug in the power adapter and wait about a minute for the light to turn solid.
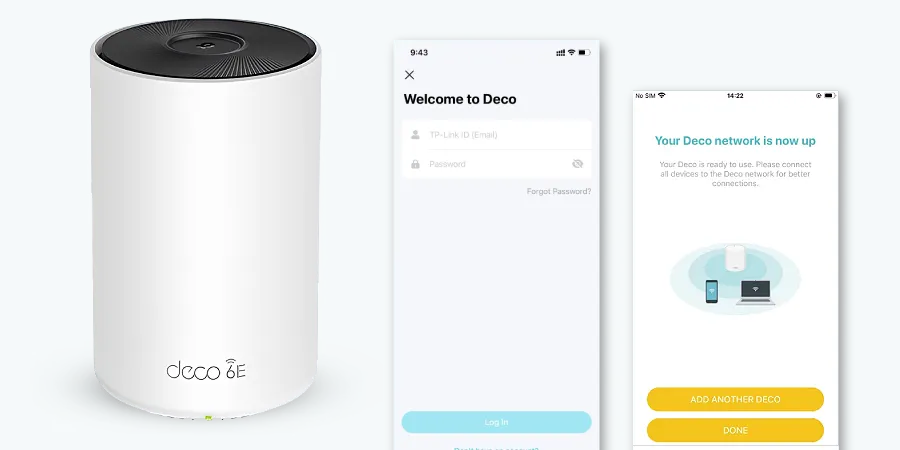
Step 3: Create a TP-Link ID and Log In
Open the app and sign up for a free account, or sign in if you already have one. This Deco login is tied to your TP-Link ID and lets you manage your network remotely, receive alerts, and access parental controls.
Step 4: Follow the In-App Setup Wizard
Tap “Set up a new Deco,” select “Deco XE5300” from the model list, and follow the on-screen prompts. The app will detect your internet connection type automatically in most cases. If it doesn’t, you may need to manually enter details from your ISP.
Step 5: Name Your Network
Choose a network name (SSID) and password for your Wi-Fi. This is also the point where you can enable a separate 2.4GHz/5GHz/6GHz band setup or keep them combined under one network name, which is recommended for most homes.
Step 6: Complete Setup and Test Connectivity
Once configuration finishes, the app will confirm your Deco is online. Connect a device to the new Wi-Fi network to verify internet access before moving on to additional units.
Adding Satellite Units to your Deco Setup
A single Deco XE5300 covers a good amount of space, but most homes benefit from multiple units. Here’s how to complete your Deco mesh setup:
- Place the second (or third) Deco unit in a spot roughly halfway between your primary unit and the area with weak signal.
- Plug it into a power outlet; no Ethernet connection is needed for satellite units.
- In the Deco app, tap the “+” icon and select “Add a Deco.”
- Choose the same room or a new location label, and the app will automatically detect and pair the nearby unit.
- Wait for the light to turn solid, confirming it has joined the mesh network.
Deco XE5300 Firmware Update
- Open the Deco app and go to "More" > "Firmware Upgrade."
- If an update is available, tap "Upgrade Now."
- Keep the unit powered on and connected during the process — it usually takes 5-10 minutes.
Fixing Deco XE5300 Red Light Issue
- Check physical connections: Ensure the Ethernet cable is firmly connected to both the modem and the Deco's WAN port.
- Restart your modem and Deco: Power cycle both devices, waiting 30 seconds before plugging them back in.
- Confirm ISP status: Log into your provider's account or contact support to rule out an outage.
- Move satellite units closer: If a secondary Deco shows red, it may be too far from the primary unit or another Deco in the mesh.
How to Reset your Deco XE5300?
If you’re troubleshooting persistent issues or preparing to sell/give away your unit, you may need to reset Deco to factory settings. To do this:
- Locate the small reset button on the back of the unit.
- Press and hold it for about 10 seconds until the LED flashes.
- Release and wait for the unit to reboot; this typically takes a few minutes.
- Set the unit up again using the Deco app as if it were new.
Note that resetting erases all custom settings, so only do this if standard troubleshooting hasn’t resolved your issue.